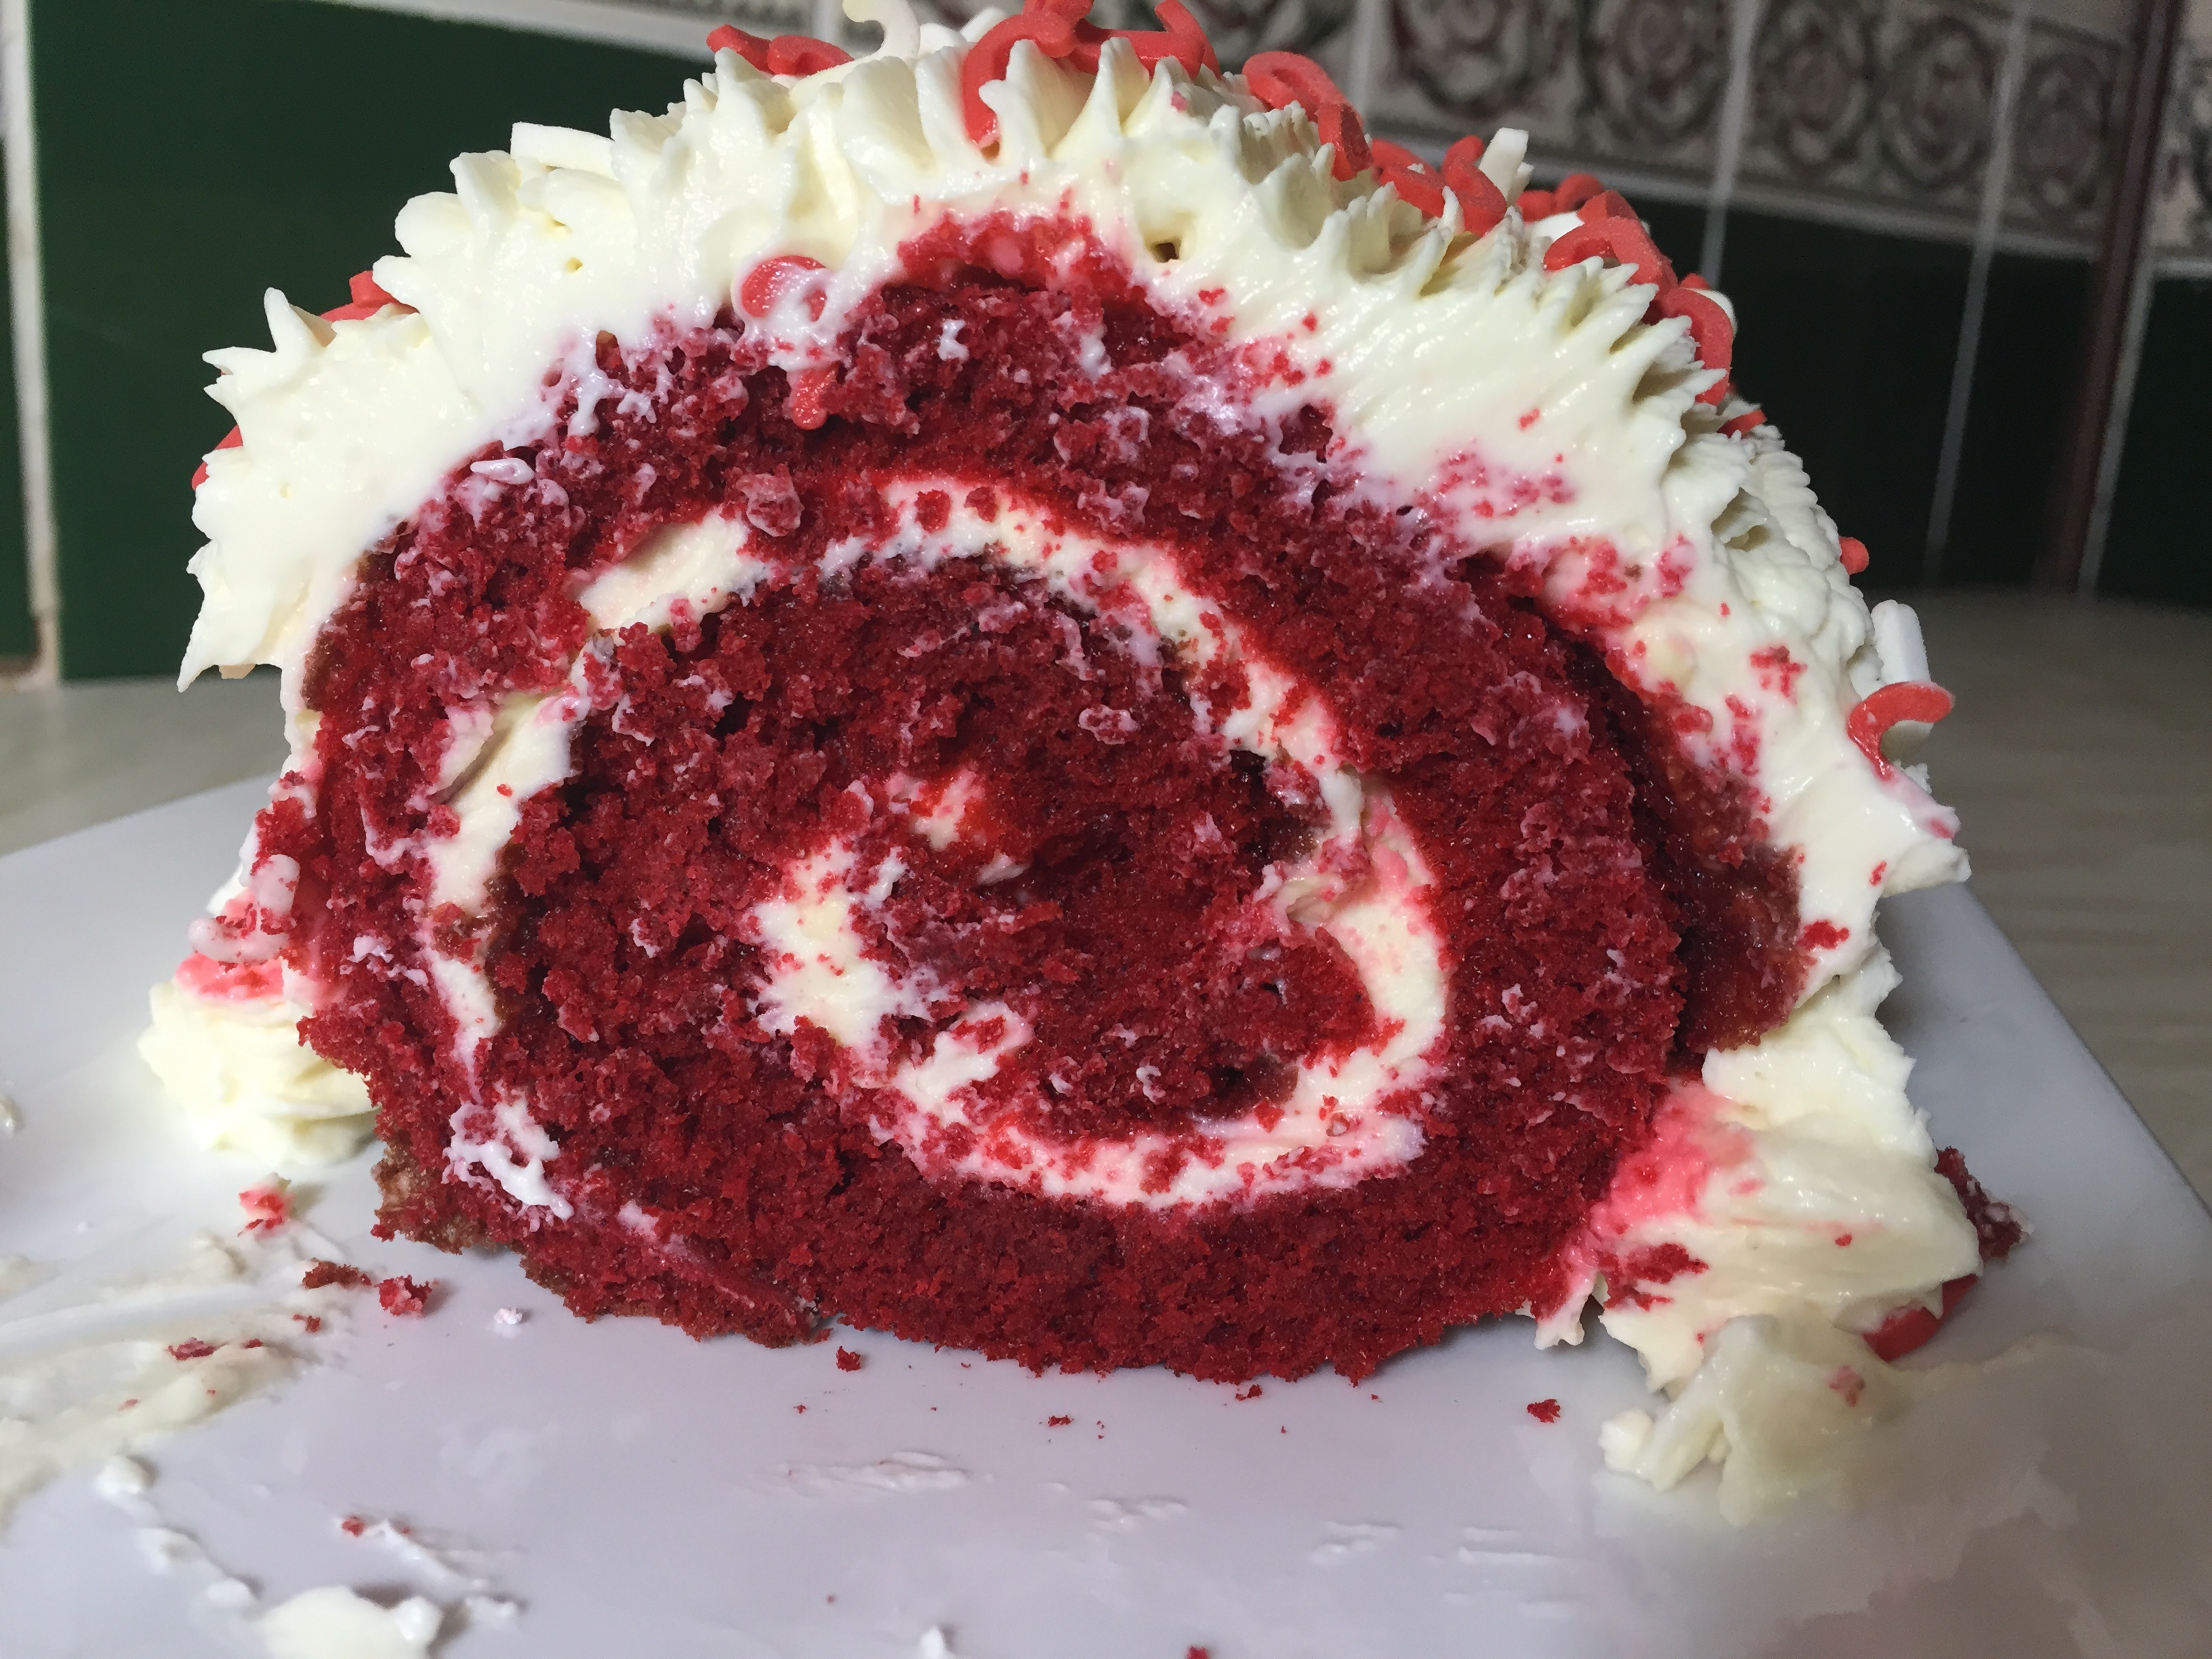
Here at British Bakeware we're big fans of red velvet cake and today we're very excited to share with you this Red Velvet Swiss Roll from the terrific Meadow Brown Bakery. Esther is a fantastic baker and her blog is brimming with brilliant recipes, from terrific cupcakes to fantastic bread recipes, there's a recipe you'll enjoy no matter what your taste.
As we mentioned, we can't get enough of red velvet cake here at British Bakeware, so we're quite eager to share this variation on the classy sponge cake. This Red Velvet Swiss Roll isn't difficult to make, and Esther's recipe features step-by-step pictures, to help guide you, whilst you have a go at making this fantastic treat. If you love red velvet cake, then we can ensure you, you're going to love this recipe!
This brilliant recipe and image is from the terrific Meadow Brown Bakery and we insist that you check out this blog, if you're looking for some inspiration for your next bake.
Ingredients:
- 2 Teaspoons of Cocoa Powder
- 1/2 Teaspoon Bicarbonate of Soda
- 2 Tablespoons Vegetable Oil
- 1 Teaspoon of Vanilla Extract
- 1 Teaspoon of Lemon Juice or White Vinegar
- 1 Teaspoon of Red Food Colouring Paste
For the filling and Decoration
Method:
Step 1 - Butter and line your baking tray with baking paper
Step 2 - Preheat your oven to 175ºC
Step 3 - Mix all the dry ingredients (excluding the sugar and bicarbonate of soda) together in a bowl and set aside.
Step 4 - Mix the red food colouring and milk in a small bowl, stir and put to one side.
Step 5 - In a large bowl, mix the four large eggs and sugar with a hand whisk until double or triple in volume and the mixture is light and quite airy. You could also you a stand mixer if you have one.
Step 6 - Add the vanilla and vegetable oil to the egg mixture and slowly whisk. Then, pour the mil and red food colouring mixture and continue mixing.
Step 7 - Sieve in the flour in to the mixture a little at a time and mix with a spatula. Do this gently because you don't want to deflate the air bubbles.
Step 8 - Add the vanilla the bicarbonate of soda and lemon juice with the final addition of flour and mix together.
Step 9 - Pour the mixture onto your prepared baking tray and gently spread the mixture to the sides.
Step 10 - Bake in the preheated oven for about 10 -13 minutes. Test with a toothpick to check if it's cooked through.
Step 11 - Whilst the cake is baking, cut a piece of grease proof or any other baking baker paper. Ensure that it's slightly larger than the cake and sprinkle it with caster sugar.
Step 12 - When the cake is ready, tip it onto your sugared grease proof paper and peel off the paper on the back of your cake.
Step 13 - Roll the cake from the short side in the paper and leave it to cool completely on a cooling rack, whilst rolled up.
Step 14 - Make the cream cheese icing and add half of the mixture in a piping bag fitted with a large open star nozzle.
Step 15 - Once the swiss roll has cooled down completely, gently unroll it, and spread some of the cream cheese icing on to the cake. You can add any spare icing to the piping bag.
Step 16 - Roll the cake up again and pipe the remainder of the cream cheese over the cake. Add the sprinkles and serve.
For the full the recipe, as well as images to guide you, visit Esther's blog here.
Products You May Find Helpful